As we come to the final part of our GA4 bitesize series let’s take a look at managing all of the custom reports we’ve covered in the series and making them easy to find and access. By displaying your new custom reports in the left-hand menu it will be easy for anyone working with your analytics to find, especially if they’re used to Universal Analytics.
Step 1. Navigate To Report Library
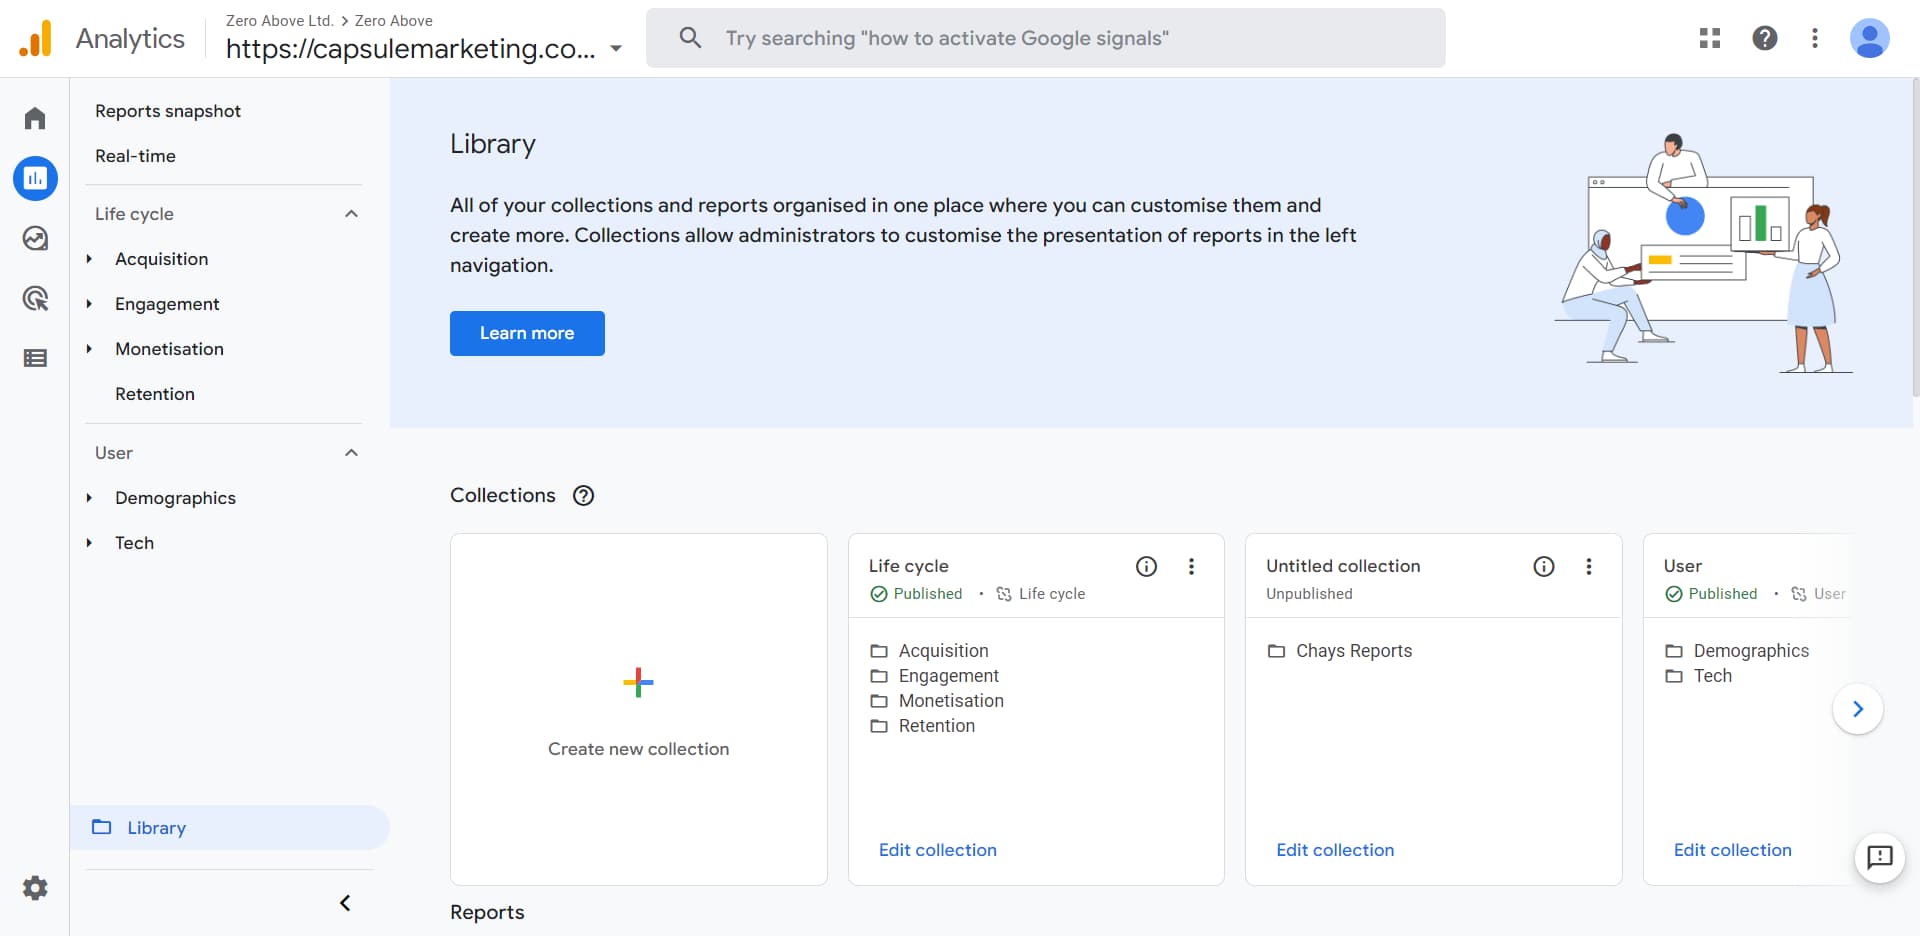
Head to the reporting tab on the left-hand menu in Google Analytics and scroll down to the bottom until you see a folder icon labelled library. This is where you can customise and create new reports that you regularly use, such as the organic landing page report we created earlier in our series.
Step 2. Create Your Report
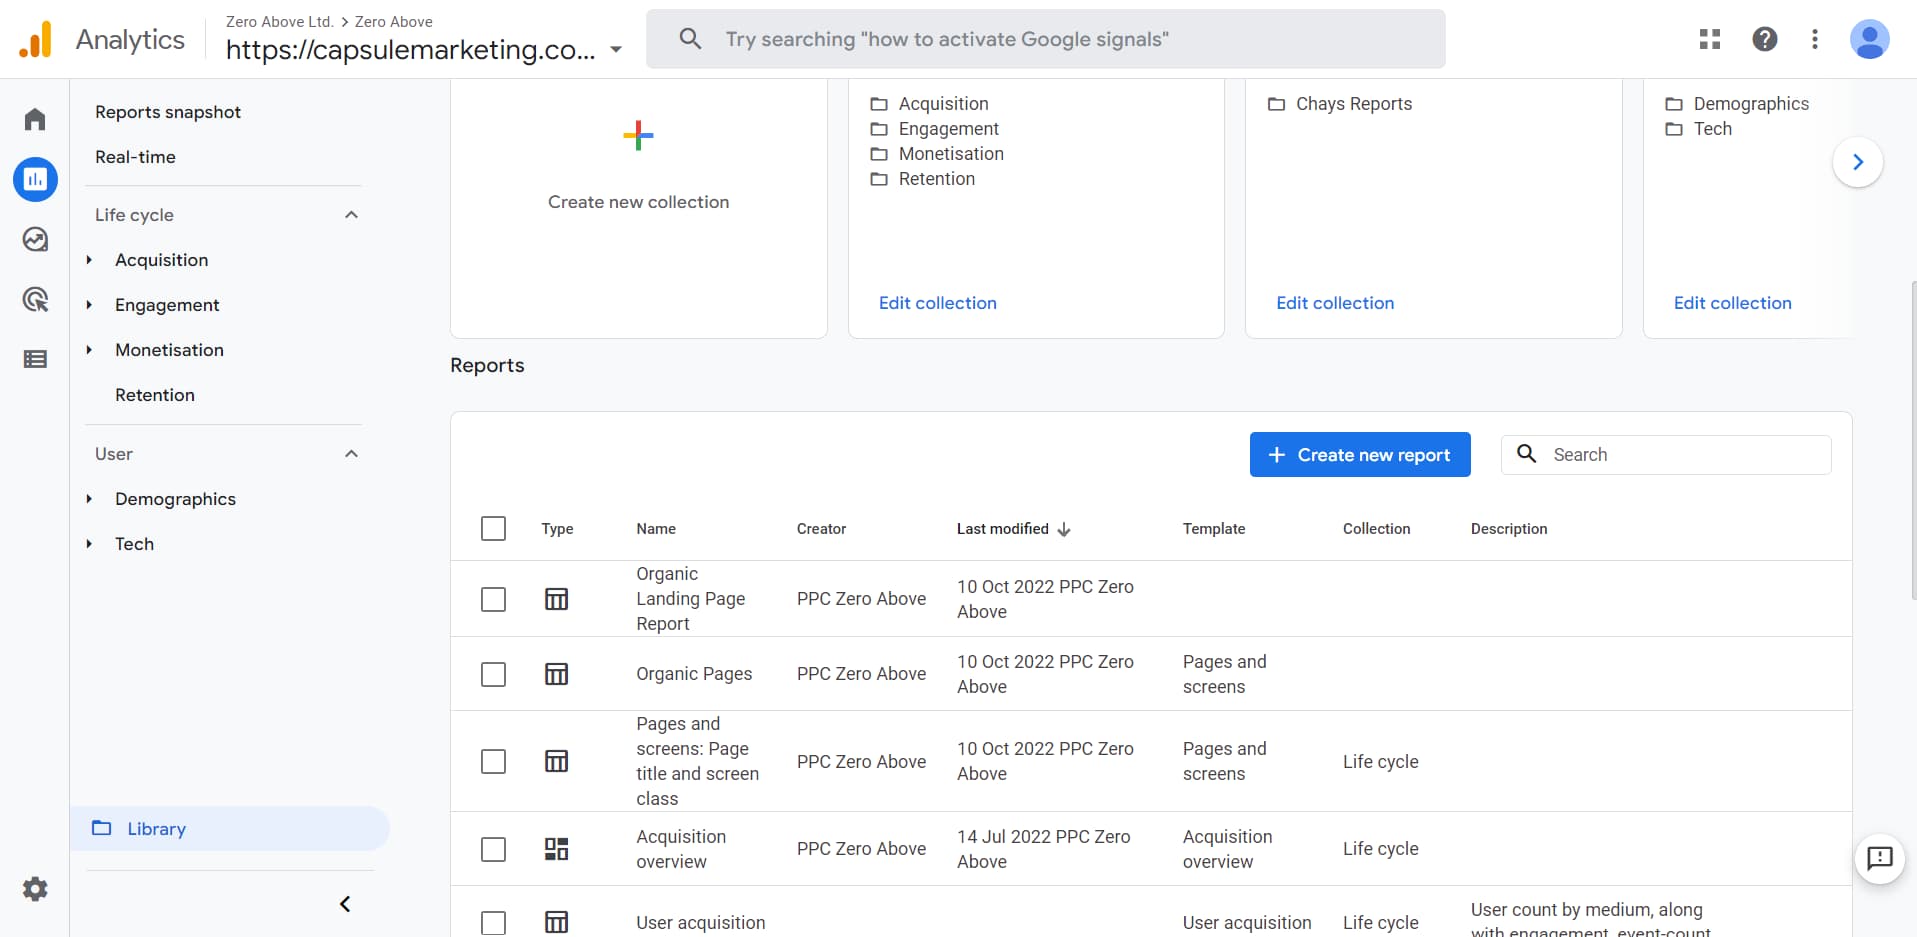
If you scroll down the page and click on the create new report button, you build your report as you normally would in the explore section of GA4. If you have already built a set of reports, either from scratch or by editing the current reports you can find these here. You also have access to all the default reports included in GA4 which you can copy and edit.
Step 3. Creating A Collection
Once you’ve built and saved your report head back to the library section. Then click on the “Create new collection” square at the top of the page. You will then want to choose the “Blank” option so it only contains the reports you want to include.
Step 4. Customising Your Collection
First things first, the Collection name will want to be quite broad, for example, Organic reports or Sales team report. The collection name will appear in the left-hand menu where you already have the existing “Life Cycle” and “User” reports. Your topic names can be more specific and these will be the label for the drop-down tabs where the reports themselves will sit under.
The first step is to create a topic. This is just a header where your reports will sit under so just give it a descriptive name. Once you’ve created your topic you can then add your reports by dragging into either the “overview report” or “detail report” tabs under your new topic.

Step 5. Saving & Displaying Reports
Once you’ve added the reports you want to include in your collection click save at the bottom of the page and then click the back button at the top of the page, above the customise collection title.
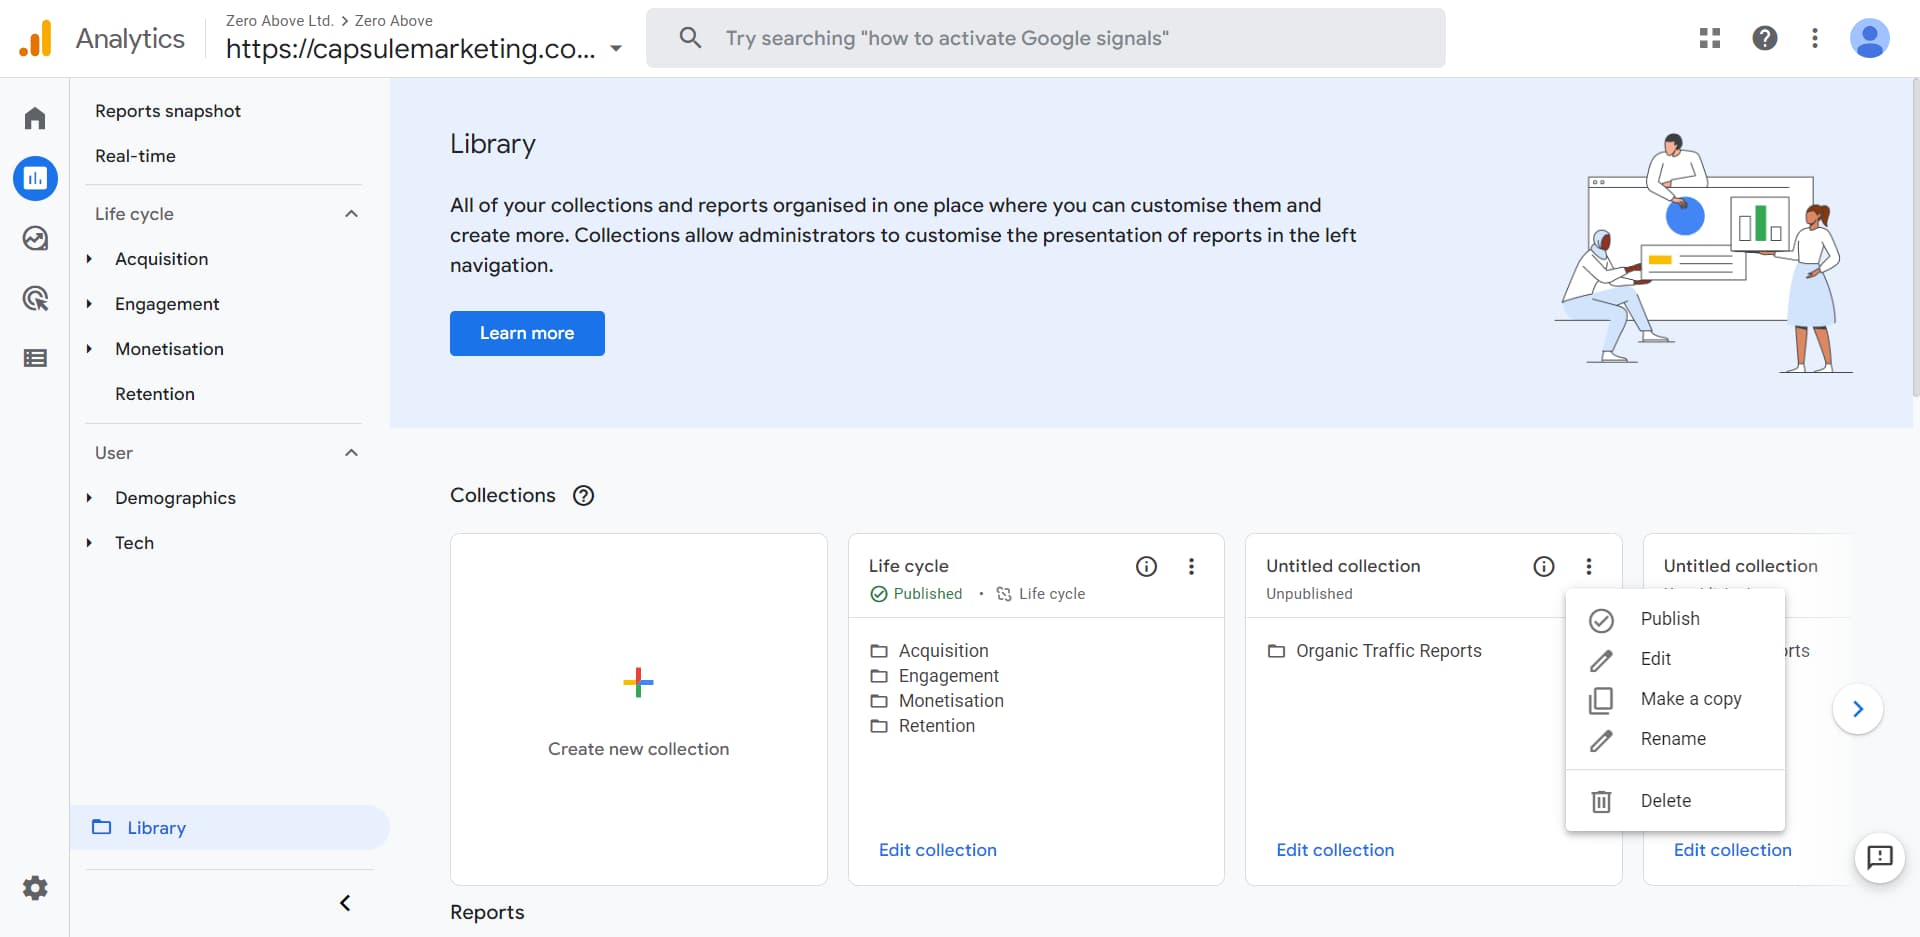
In the collections across the top of the page, you will now see your new collection, titled “Untitled collection”, marked as unpublished. If you click on the three dots it will open up a menu and allow you to rename and publish your collection. This will add it to the left-hand menu on the reporting tab, making it quick and easy to find and read these reports at a glance.

Now that your custom reports are easy to access and manage GA4 should start to become easier to use and resemble Universal Analytics more closely. If you need support in getting GA4 set up and creating custom reports just get in contact with our digital team who will be happy to help you get GA4 set up.